Vacuum oven with pump Introduction
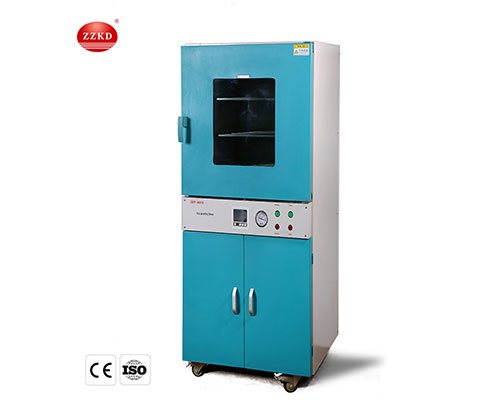
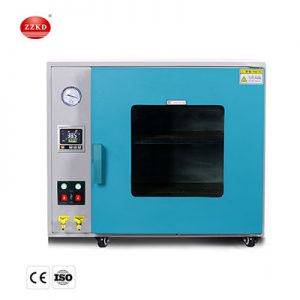
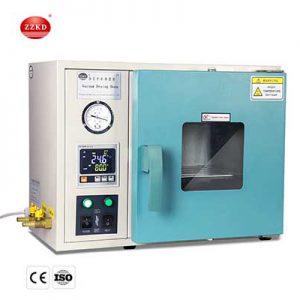
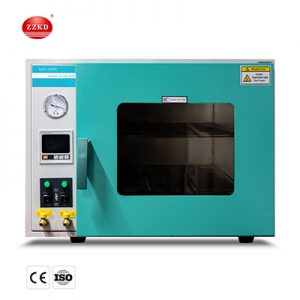
vacuum oven with pump is a vacuum oven with pump, which is specially designed for drying or curing materials under low pressure environment. Precise and accurate temperature control can be achieved. It also has a built-in safety feature that automatically shuts off the oven if it overheats. The oven is made of stainless steel, which is corrosion resistant and easy to clean. It is commonly used in the pharmaceutical, chemical and electronics industries as well as research laboratories.
Vacuum oven with pump features:
Digital Temperature Control:
The oven features a digital temperature control system, which allows for precise and accurate temperature control. This helps ensure consistent results and reduces the risk of overheating.
Built-in Safety Feature:
The oven has a built-in safety feature that automatically shuts off the oven in case of overheating. This helps prevent accidents and damage to the oven or the materials being processed.
Stainless Steel Construction:
The oven is made of stainless steel, which makes it resistant to corrosion and easy to clean. This ensures the oven is durable and long-lasting, even with frequent use.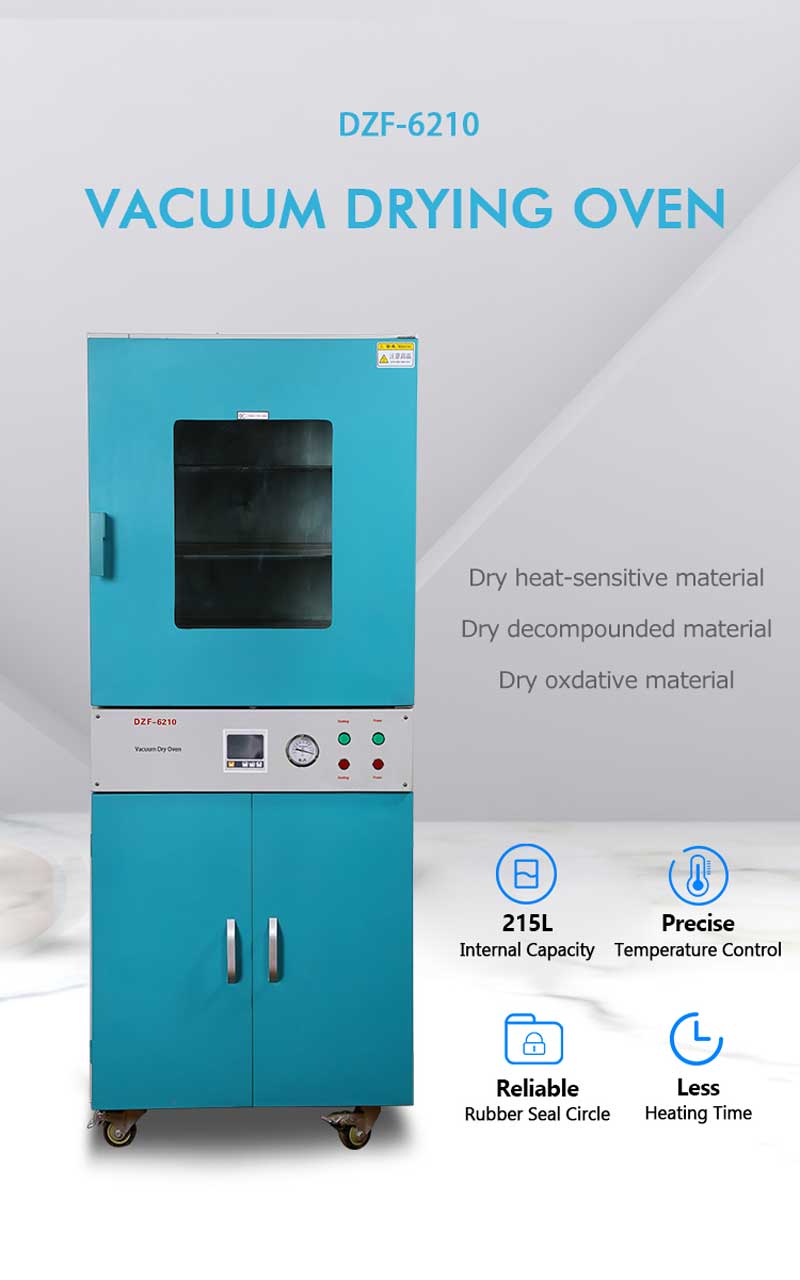
Temperature Range:
The vacuum oven with pump has a temperature range of 10°C to 200°C, which makes it suitable for a wide range of applications.
Vacuum Level:
The oven has a vacuum level of 133 Pa (1 torr), which is sufficient for most drying and curing applications.
Transparent Observation Window:
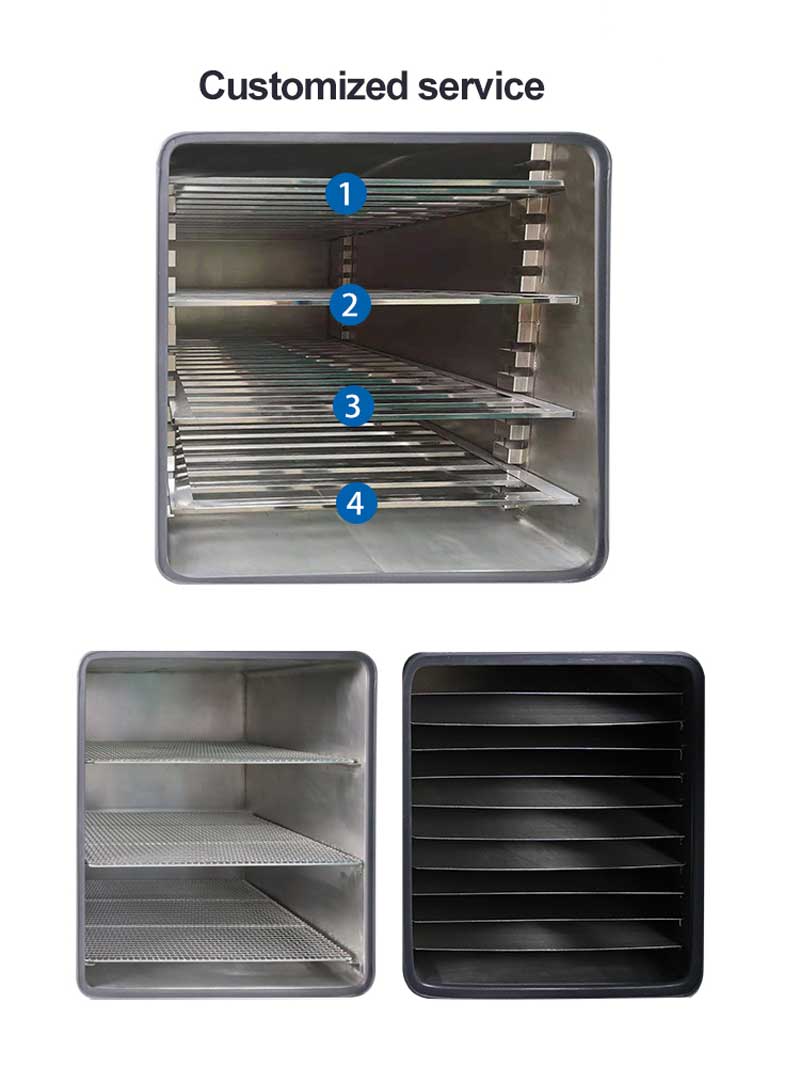
The oven features a transparent observation window, which allows users to monitor the drying process without opening the oven door and disrupting the vacuum. This helps ensure consistent and efficient processing of materials.
Operation of vacuum oven with pump
Preparation:
Check that the oven is clean and free from any debris or materials. Ensure the oven door is properly sealed to maintain a vacuum environment. Connect the vacuum pump to the oven and switch it on.
Set Temperature:
Press the temperature button and set the desired temperature for your application. The oven temperature is displayed on the digital screen.
Set Time:
Press the timer button and set the desired time for your application. The oven timer is also displayed on the digital screen.
Vacuum Operation:
Press the vacuum button to activate the vacuum operation. The vacuum gauge should indicate a vacuum pressure of 133 Pa (1 torr) or lower.
Load Samples:
Open the oven door and load the samples onto the oven shelves. Ensure that the samples are evenly spaced and not touching each other.
Start Operation:
Close the oven door and press the start button to begin the operation. The oven will start heating up to the set temperature and the vacuum pump will maintain the vacuum pressure.
Monitoring:
Monitor the operation regularly through the observation window without opening the oven door. The drying or curing process can take anywhere from a few minutes to several hours, depending on the type and amount of material being processed.
Completion:
Once the process is complete, turn off the oven and switch off the vacuum pump. Open the oven door and remove the samples. Allow the oven to cool down before cleaning.
Cleaning:
Once the oven has cooled down, wipe the oven shelves and interior with a clean, damp cloth. Avoid using abrasive cleaners or chemicals that can damage the oven.
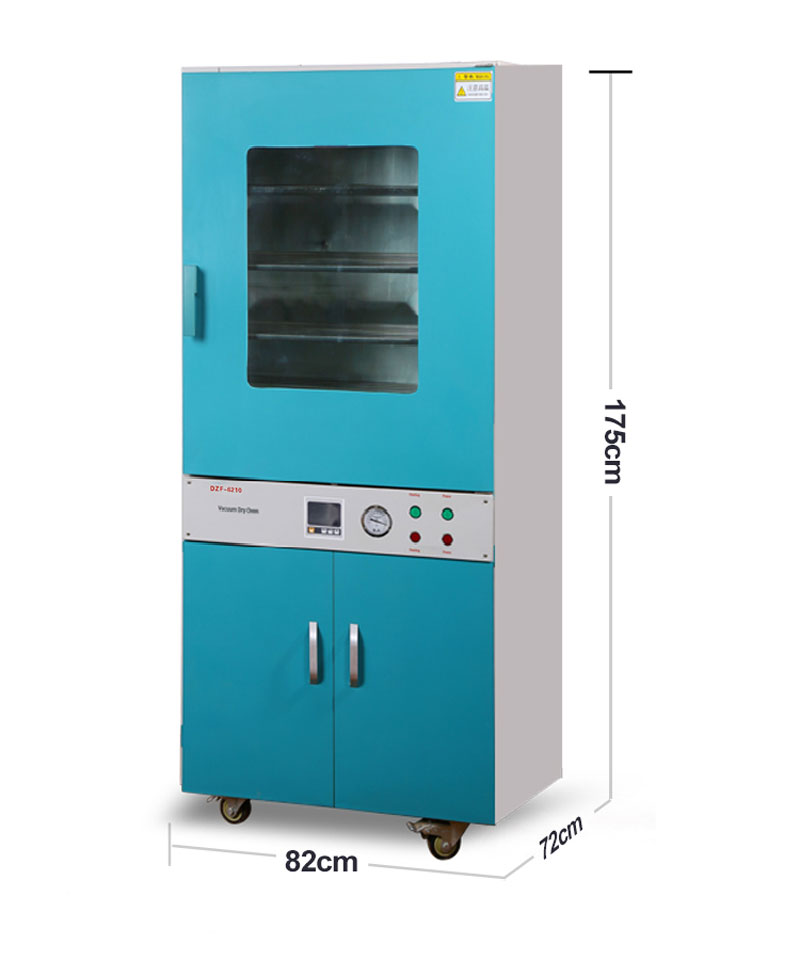
Case of vacuum oven with pump:
How do chemical companies apply vacuum drying ovens? Share real cases and understand the drying process.
A chemical company recently developed a new material called “X Liquid”, which needs to be dried. The company used a vacuum drying oven for drying, and successfully dried X liquid into solid powder.
The following is the company’s drying process:
Raw material preparation
First, the company injects Liquid X into special containers. Liquid X is a new type of polymer material with large molecular weight and complex structure, so it cannot be dried by traditional drying process.
Vacuum treatment
The company uses a vacuum oven for drying. Before drying, the air in the drying box needs to be evacuated to achieve a vacuum state. Next, place the container containing X liquid in the dry box.
Low temperature heating
After the drying starts, the temperature is raised at a low temperature first. At this time, the temperature in the drying box rises to about 40°C, which helps to evaporate most of the water in the X liquid. This stage takes about 6 hours.
High temperature heating
Next, high temperature heating is carried out. Raise the temperature in the drying box to about 120°C, and continue to evaporate the residual moisture in the X liquid. This stage takes about 12 hours.
Cooling treatment
After drying, the powder in the drying box needs to be cooled to avoid heat damage when it is taken out. After cooling, the powder is removed and packaged.
Through this process, the company successfully dried X liquid into solid powder, which provided new possibilities for its production

